All steps in this tutorial are assuming you are logged into your website and located on the dashboard or the main page.
Tags are created whenever you go to label a post for your readers. They depict the content in abbreviated forms, and allow your reader to better differentiate between topics. You can access your list of tags under the tag manager.
- On the dashboard, hover over the ‘Posts’ link, it will give you a menu. Move your cursor down to ‘Tags’ and click on it.
- There are two seconds on this manager; the ‘Add New Tag’ section, and the list of current tags that are already used. For the already used tags, it will list their description, their slug, and the count of how many times it’s been used.
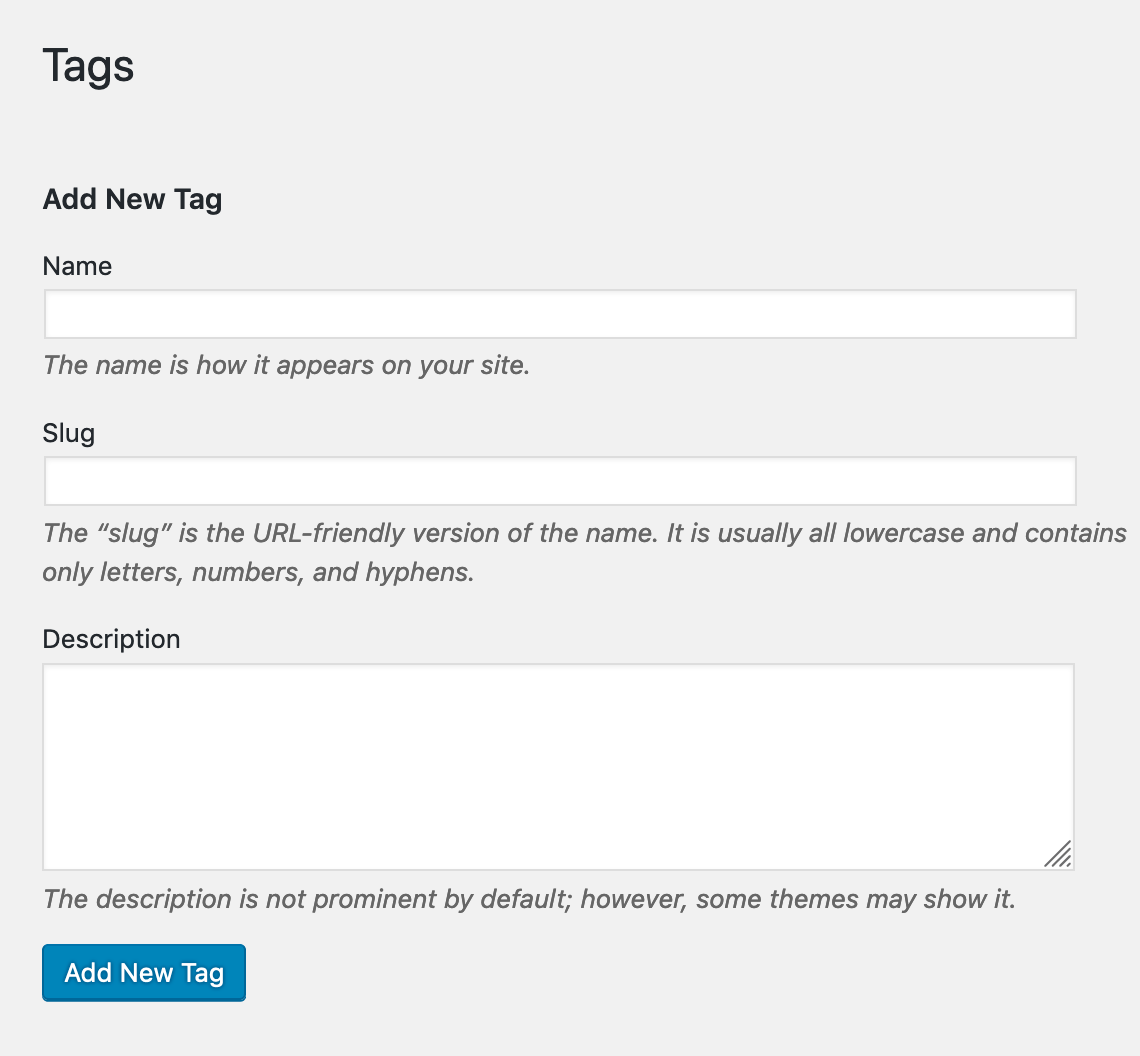
- Add New Tag
- Name the specific tag as you want it to appear on your site.
- The slug is a URL-friendly version of the name.
- The description may not be prominent on the website, but it may show. The description just describes what the point of the tag is for the post.
- Current Tags
- You can bulk delete any previous tags that you don’t use or need.
- You can also edit any current existing tags by using the edit link below the tag title.