All steps in this tutorial are assuming you are logged into your website and located on the dashboard or the main page.
Social Media can be displayed in two locations; On the navigation next to the search bar on the right or in the footer.
In order to display on the navigation next to the search, follow these steps:
- First, you must create a menu.
- On the dashboard, hover over appearance and select the menus option.
- Create or select a menu (from a drop down) called ‘Social’.
- On the left hand side, select the ‘Custom Links’.
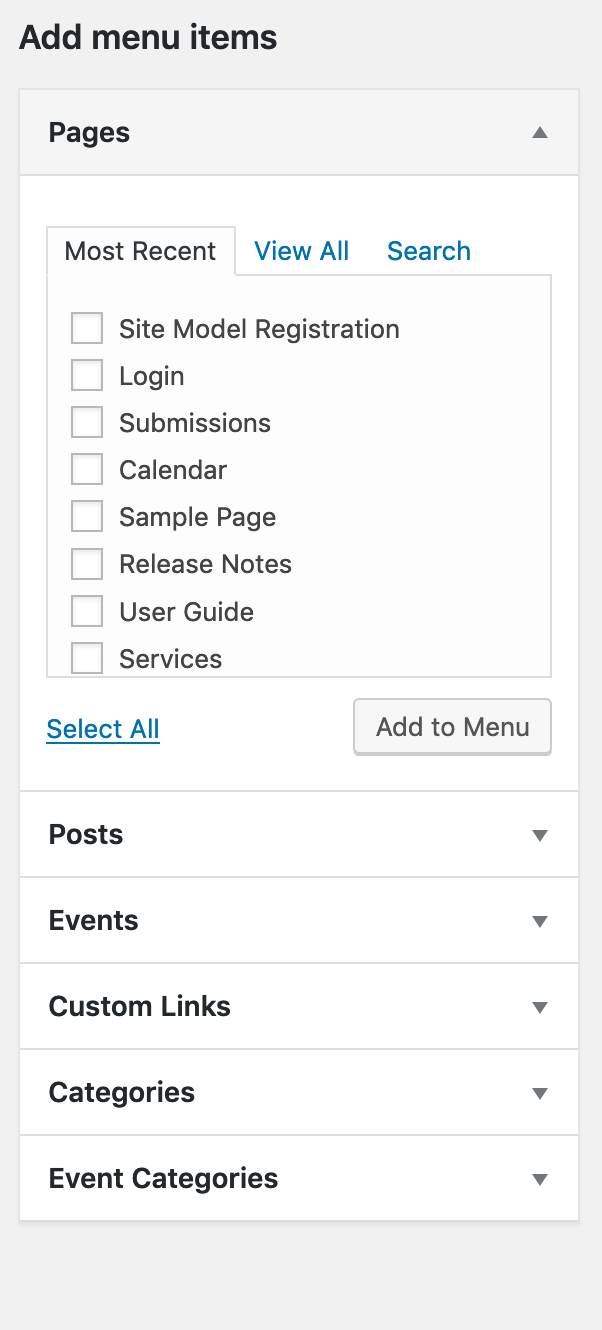
- Insert your URL and refer to this list for the necessary icons for the social icon to appear.
- Select ‘Add to Menu’.
- Repeat process until all Social Links and Icons are added.
- At the bottom in Menu Settings, there are two check box sections.
- Under Display Location, select ‘Social Menu’. This will make your social menu appear in the navigation.
- Save menu and view your work on Home.
In order to display on the footer, follow these steps:
- First, you must create a menu.
- On the dashboard, hover over appearance and select the menus option.
- Create or select a menu (from a drop down) called ‘Social’.
- On the left hand side, select the ‘Custom Links’.
- Insert your URL and the social icon will appear automatically on the front end.
- Select ‘Add to Menu’.
- Repeat process until all Social Links and Icons are added.
- At the bottom in Menu Settings, there are two check box sections.
- Under Display Location, select ‘Social Menu’. This will make your social menu appear in the navigation at the top of the page.
- Save menu and view your work on Home.