All steps in this tutorial are assuming you are logged into your website and located on the dashboard or the main page.
- On the dashboard, click on ‘pages’ on the left hand side menu.
- Select the page you wish to edit.
- Locate where you want to place the desired image
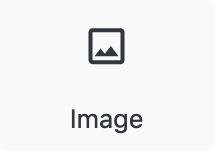
- Click on the plus sign surrounded by a circle icon and look for the image icon (labeled as image).
- You will get a grey box with three options saying: Media Library, Upload Image, Image from URL.
- Select the Media Library if the image has already been uploaded into the website via a previous post or page, or into the media library itself.
- Select the Upload Image if the image has not been added to the website or the media library.
- Select the Image from URL if you’re adding a third-party image from another website.
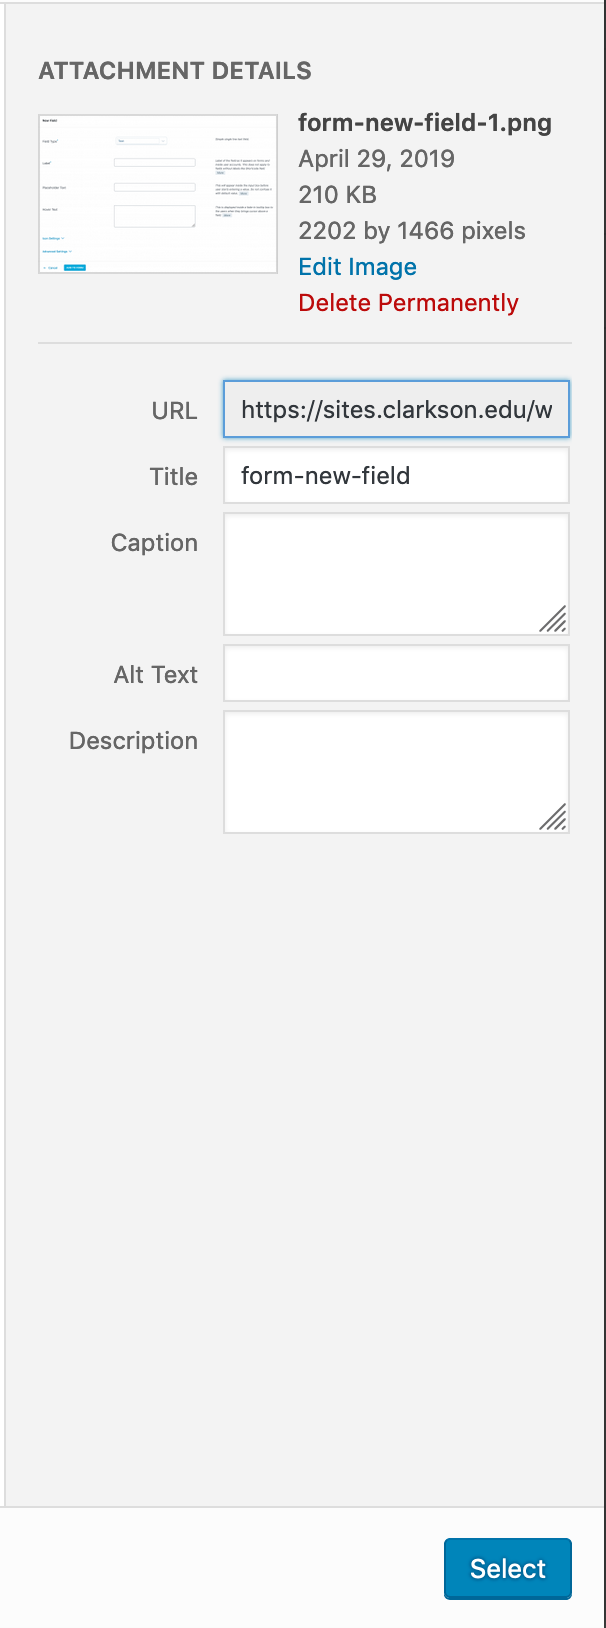
- Add in the information (title, description, alt!) regarding the photo on the right hand side of the pop up box.