All steps in this tutorial are assuming you are logged into your website and located on the dashboard or the main page.
- On the dashboard, hover over the ‘Appearance’, a menu will appear. Move your mouse to ‘Menus’ and click on it.
- If you have multiple menus, please locate the drop down and select ‘Main Navigation’. If you do not have multiple menus, your ‘Main Navigation’ will be the one loaded already.
- You will have your main navigation items listed vertically.
- To add menu items:
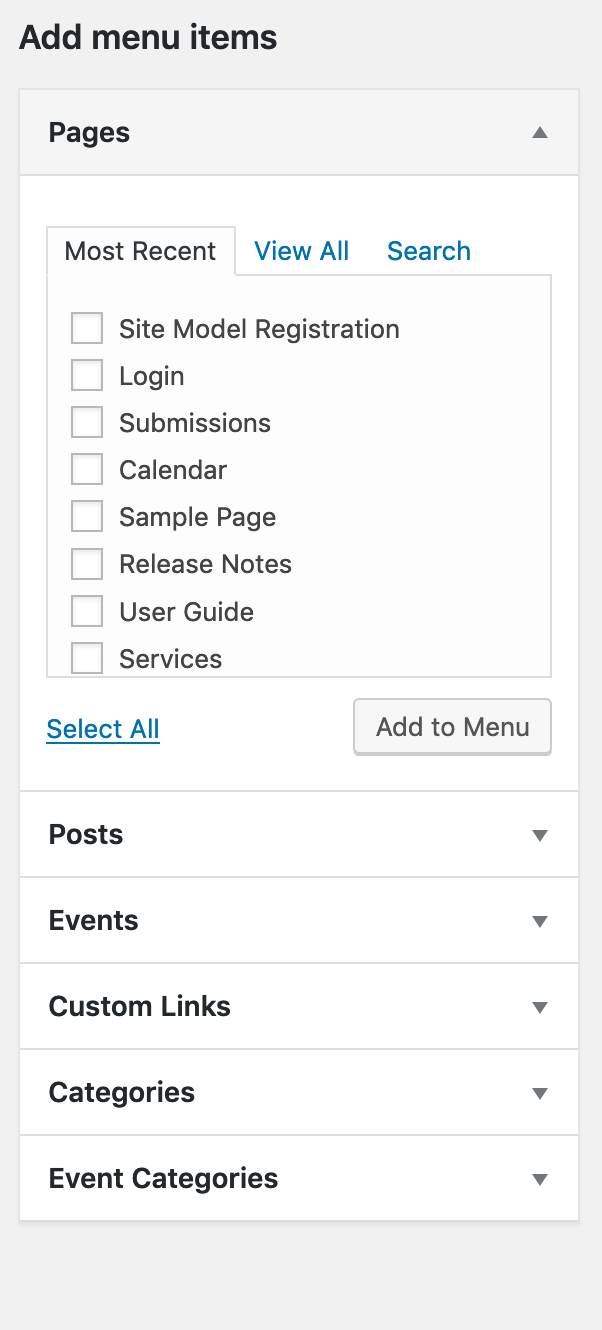
- On the left you have 6 items to pick from on how to add your pages, posts, events, custom links, categories, and event categories.
- To Add Pages, you have three ways to find the page you’re looking for. There is ‘Most Recent’, ‘View All’ and ‘Search’.
- Most Recent is the most recent pages that have been created or edited.
- View All lists all of your pages in alphabetical face.
- Search allows you to look for the specific page.
- Select the page (or pages) you want to add via the checkbox, and then click on the button that says ‘Add to Menu’.
- To Add Posts, you have the same three options as pages.
- Events, Categories, and Event Categories are listed vertically and selected via checkbox the same as Pages, and Posts.
- Custom Links allow you to place an external link from your website.
- Insert the URL from your external website.
- Insert the Link Text (which will show on the navigation).
- Once your done, ‘Add to Menu’.
- Once you’ve added all your links, make sure to save your menu.