All steps in this tutorial are assuming you are logged into your website and located on the dashboard or the main page.
- On the dashboard, click on Events.
- Click ‘Add New’ next to the Events title.
- Enter the title of the Event.
- Add a description in the WYSIWYG editor.
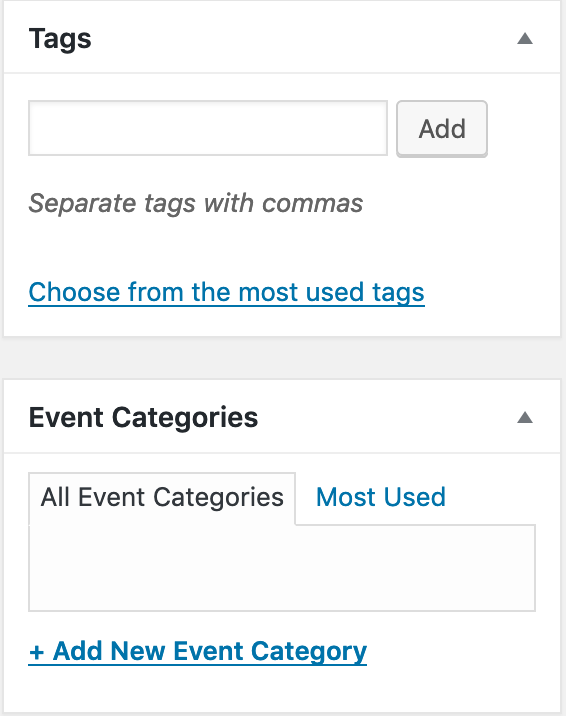
- On the right hand side, enter your tags and your event category (both can be created when you add a new event each time).
- Scroll down under the ‘The Events Calendar’ title. Here you will fill in the Time, Date, Location, Organizers, Website, Costs, and the Excerpt.
- Date
- On the Start/End click on the first date and select the date that the event begins.
- Fill in the beginning and ending time of the event.
- Finish with the end date of the event.
- If it’s an All Day Event, select the checkbox below the date & time boxes.
- Venue
- Add the name of the location in the Venue Name.
- Add the address (such as the city, country, state or province, postal code).
- Add a phone number (if applicable) for someone to contact at the event.
- Add a website that the user could visit for more information.
- You can choose to show a map based on your address, and the map link.
- Organizers
- Add the name of the organizer, phone, website (personal or general event website), and an email to contact.
- If you would like to add an additional organizer, click the ‘Add another organizer’ button.
- Event Website
- Type in or paste a link regarding the specific event.
- Event Cost
- Put in the currency symbol, and the cost below if your event requires to be paid.
- Excerpt
- Excerpts are optional summaries of your event that can be used when you paste the event in your theme.
- Discussion
- You can allow comments for your events, but it’s not recommended.
- Date
- Event Options allows you to hide them from the Event Listings, make the event ‘sticky’ to the calendar whenever the calendar is in Month View. You can also check the Feature Event option, which makes this event stay at the top of listing.
- Featured Image allows you to set a featured image for the specific event.
- Once the event information has been filled out, publish your event!