All steps in this tutorial are assuming you are logged into your website and located on the dashboard or the main page.
- Navigate to the dashboard, and hover over the ‘Appearance’ links. Click on ‘Menus’.
- There is a line that says “Edit your menu below, or create a new menu. Don’t forget to save your changes!” Click on the link that says ‘create a new menu’.

- Name your menu, and then press the button that says ‘Create Menu’.
- To add menu items:
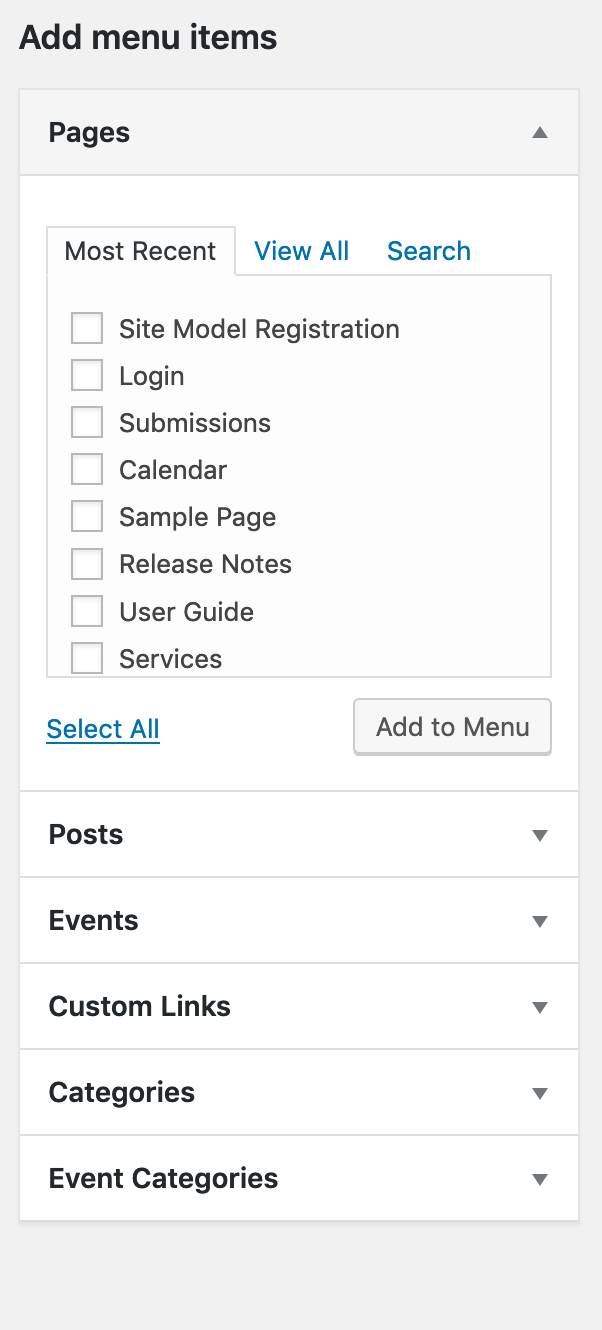
- On the left you have 6 items to pick from on how to add your pages, posts, events, custom links, categories, and event categories.
- To Add Pages, you have three ways to find the page you’re looking for. There is ‘Most Recent’, ‘View All’ and ‘Search’. Most Recent is the most recent pages that have been created or edited.
- View All lists all of your pages in alphabetical face.
- Search allows you to look for the specific page.
- Select the page (or pages) you want to add via the checkbox, and then click on the button that says ‘Add to Menu’.
- To Add Posts, you have the same three options as pages.
- Events, Categories, and Event Categories are listed vertically and selected via checkbox the same as Pages, and Posts.
- Custom Links allow you to place an external link from your website.
- Insert the URL from your external website.
- Insert the Link Text (which will show on the navigation).
- Once your done, ‘Add to Menu’.
- Once you’ve added all your links, make sure to save your menu.